Quest Flooring of Schaumburg IL
(847) 346-6966
Quest Flooring
204 Alpine Drive
Schaumburg, IL 60194
United States
ph: (847) 346-6966
jamesoqu
Repair Tips
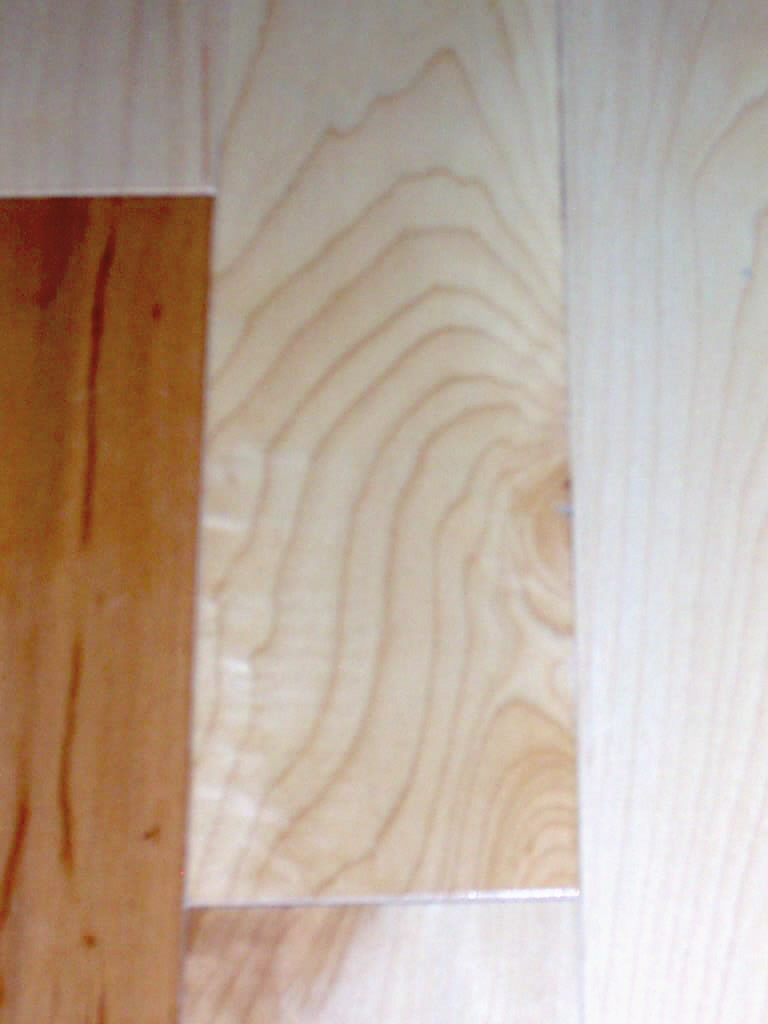
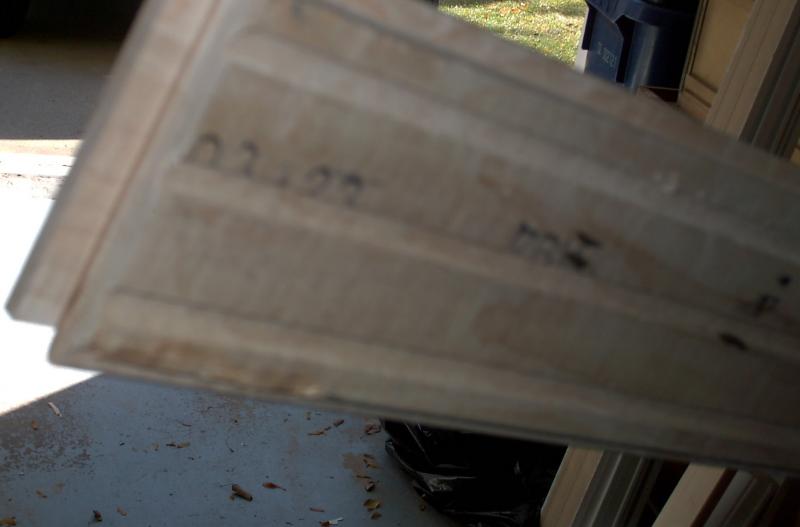
The board in the center is defective and needs to be replaced.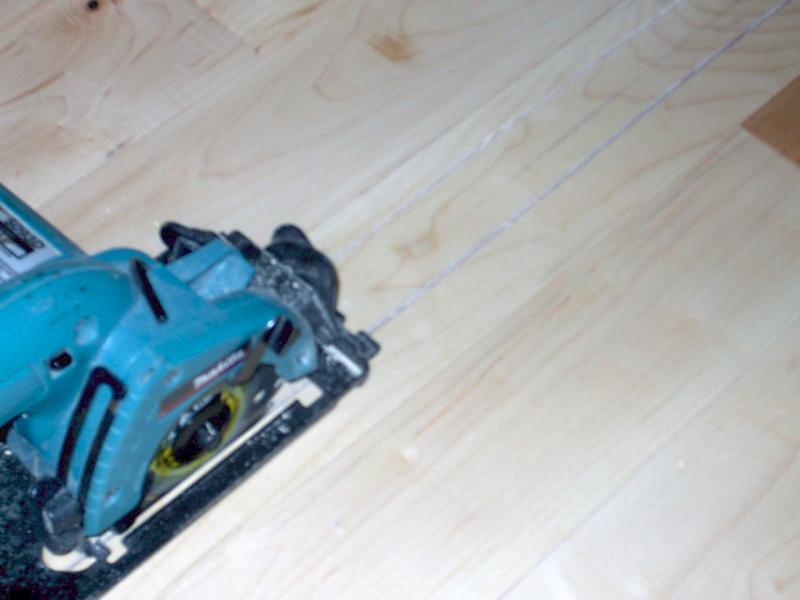
First you must set the depth of your saw to the thickness of your flooring.Cut the length of the board 2 or 3 times being careful not to damage the surrounding floor.Keep a vaccum on hand for easy clean up.

Next remove the sawed strips of wood with a sharp chisel,you can split the strips with a hammer. Make sure you remove all flooring staples, a nail puller or pliers works well.
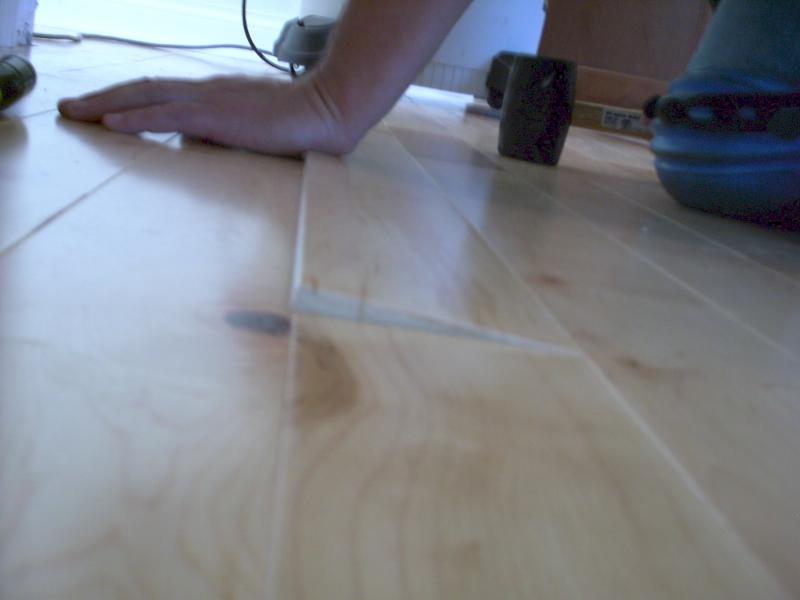
Make sure you cut away the tar paper,vacuum out any debris and check for any high spots in the sub-floor where flooring staples were pulled. Pick out the board you are to replace and make sure it's longer than the board you removed. This board will need to be cut on one end preferrably with a miter saw with a carbide blade,for a clean look.
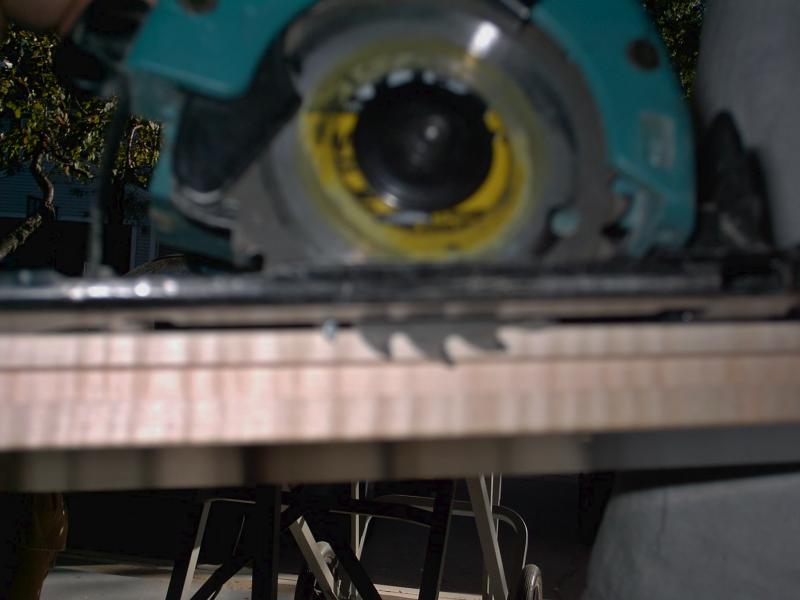
Once you have cut your new board to the proper length ,flip the board over so the finish faces down. Now set the depth of your saw blade so it penetrates slightly into the groove of your replacment board.
In this picture you can see we have cut off the bottom half of the groove, running the length of the board as well as the end. Make sure you don't ruin the finish of your replacement board when cutting the bottom half of the groove off.
Now when fitting your new board into place,put the tounge in first and check for snugness.Do not pound the board into place just yet ,you may have to shave the back groove of your replacement board. If you don't cut the bottom half of the groove off completly your replacement board may get hung up on the tounge of the existing floor. If your replacement board gets stuck you can try pounding gently on the floor boards around your replacement board with a rubber mallet.
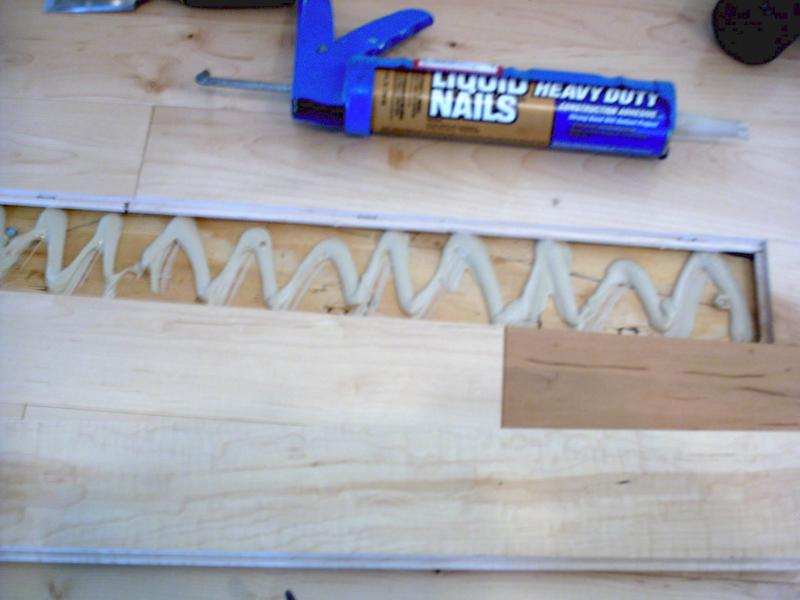
Put a generous zig-zag bead of adhesive on the sub-floor for your replacement board. Be sure not to let the adhesive sit to long,for it can skim over and loose it's adhersion.

Finally set your replacement board back into position,with the tounge of your replacement board going back into the groove of your existing floor. Pound the board into place with a rubber mallet, making sure it lies evenly with the rest of the surrounding floor. It may help you to work the mallet left to right the length of your replacement board, to get it to fit.
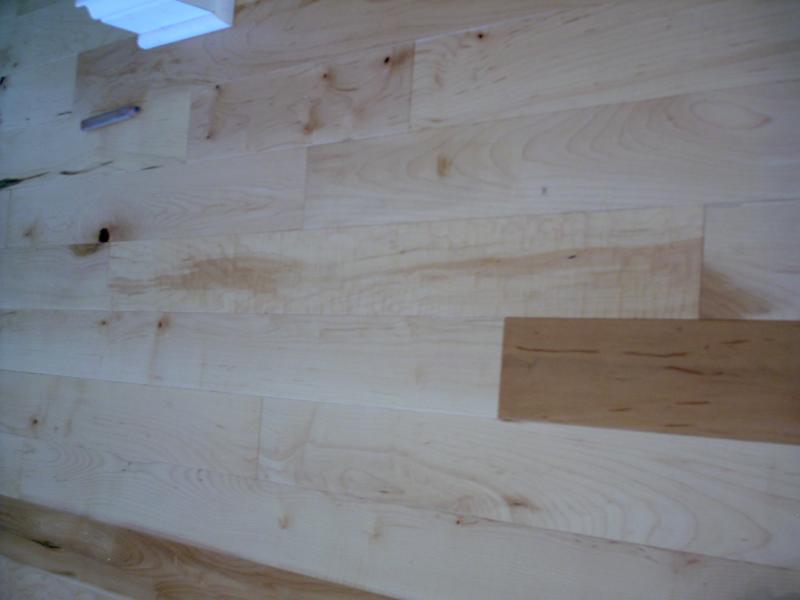
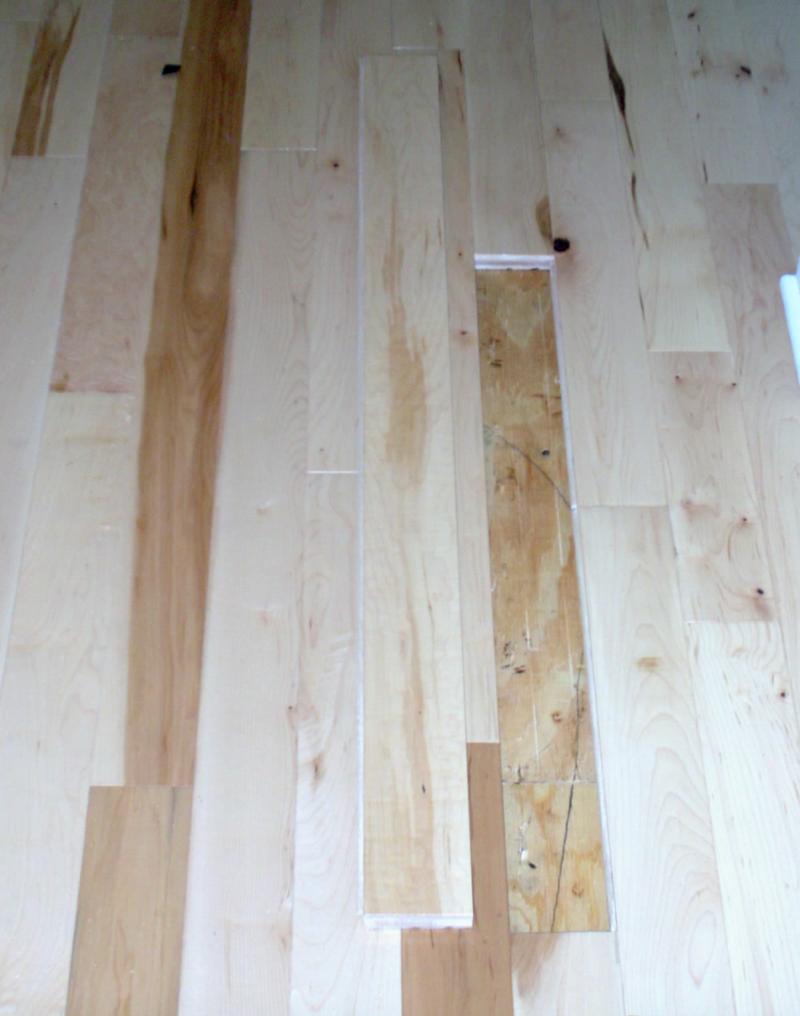
Our replacement is the one above the dark brown board in the center of this picture. While this proceedure may seem tedious it should take no longer than 20 to 30 minutes from start to finish. This is one of the benefits to a pre-finished floor, had this been a unfinished product the entire room may need to be refinished.
Quest Flooring
204 Alpine Drive
Schaumburg, IL 60194
United States
ph: (847) 346-6966
jamesoqu